$3 Thrift Store Art Makeover: From Basic to Beautiful
Last Updated on July 16, 2026 by Stacy Averette
When I spotted this canvas by artist Ruth Chou Simmons at the thrift store, I could see that the frame was broken and the canvas was loose. However, the artwork was beautiful, and the Bible verse is one of my favorites. I knew I wanted to give it a new life, and the $3 price tag made the decision easy.
I’m going to show you step by step, with lots of photos, exactly what I did to take this thrifted art from basic to beautiful.
This was such a fun and easy project, and it’s the perfect inspirational art for our counseling office’s reception area.
I’m a participant in the Amazon Services LLC Associates Program and some links may be affiliate links. I may receive a small fee at no extra cost to you if you make a purchase or take an action after clicking one of these.
The Basic Before
Here’s what the thrifted piece looked like when I found it:
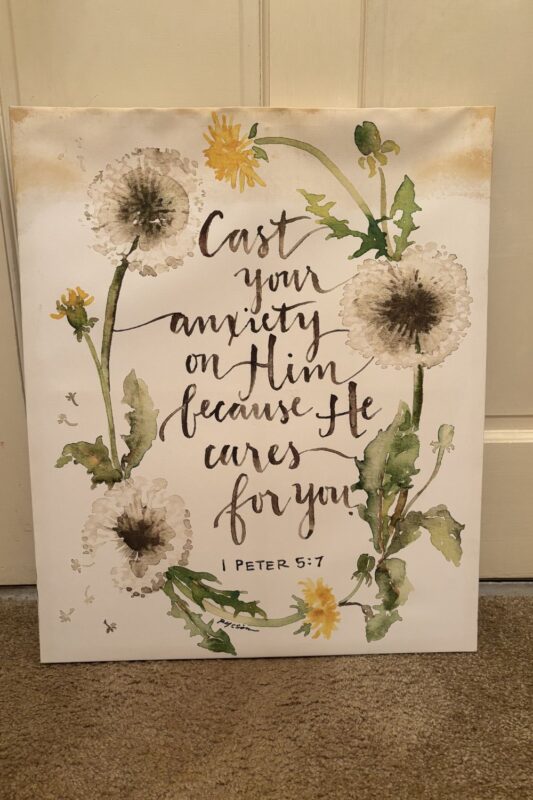
Not bad, but I knew I could make it better. The canvas was loose around the frame, and upon closer inspection, I realized the wooden frame was broken. I could’ve tried to repair the frame, but the wood was cheap and flimsy.
Step 1: Measure the canvas
Knowing the canvas’s dimensions was important because I wanted to use its already creased edges, adhere it to a sturdier board, and add it to a beautiful frame. I measured the canvas’s length and width before removing it from the frame.
Step 2: Find a frame
I have quite a collection of beautiful frames (all thrifted, of course) and found one that was the perfect size for the canvas!
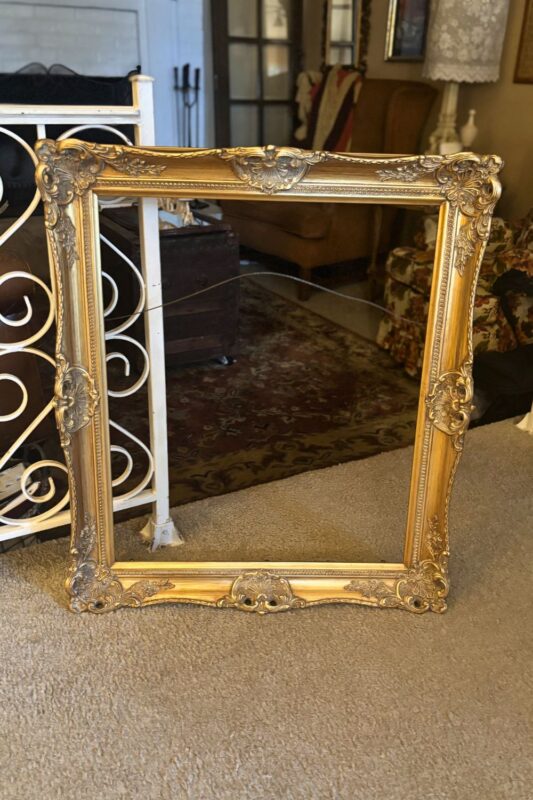
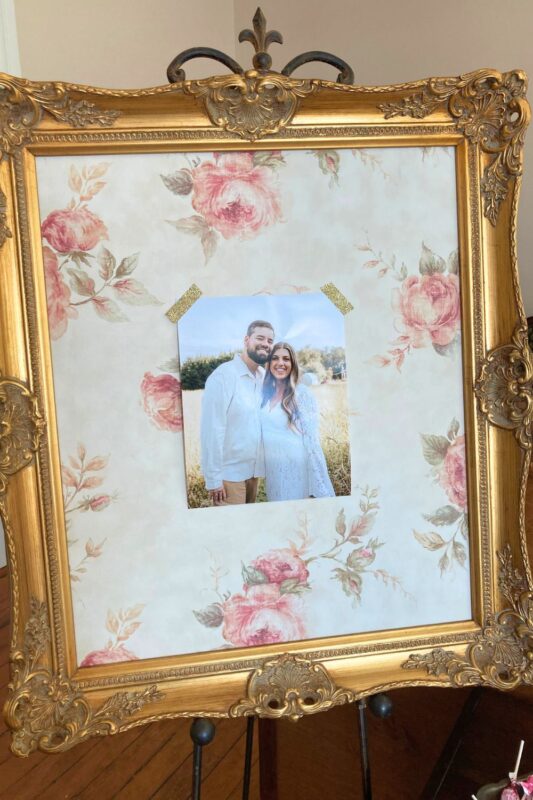
A few years ago, I used this lovely, ornate, antiqued frame at a wedding shower I hosted to display a photo of the sweet couple. After that, I repurposed it into a fancy inspiration corkboard for my craft room.
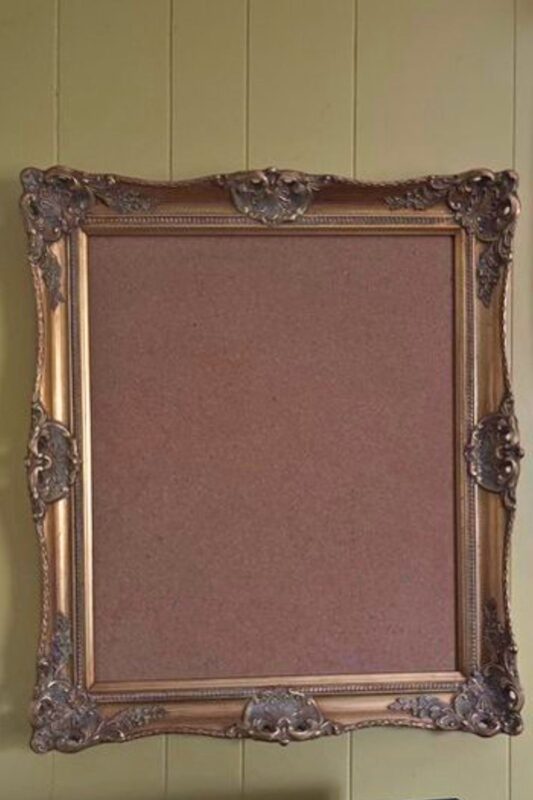
FYI: I always have a stash of this cork by the roll. It’s budget-friendly, perfect for all kinds of craft projects, and easy to use. The cork is 2mm thick, so I attach it to a piece of cardboard when making a corkboard like the one above. This makes push pins/thumbtacks hold securely.
Now it’s about to be repurposed again!
Step 3: Remove the canvas from the frame
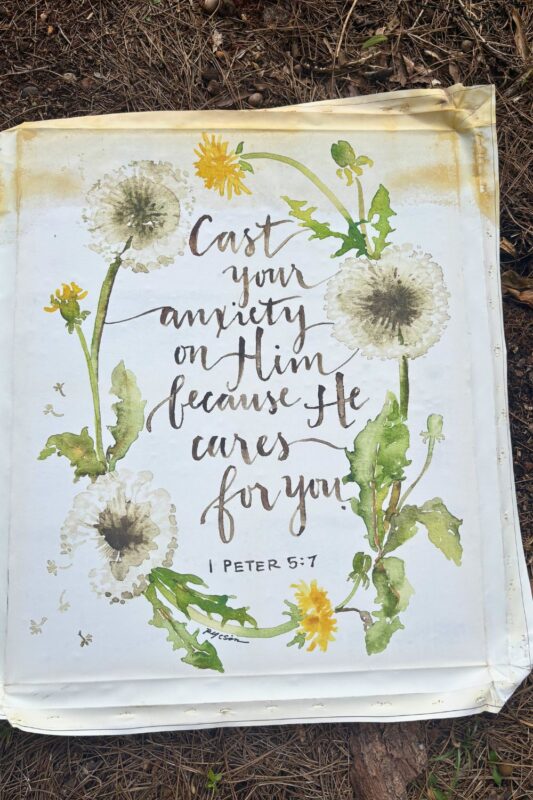
After removing approximately 100 staples, this is how it looked:
Step 4: Adhere the canvas to the cardboard
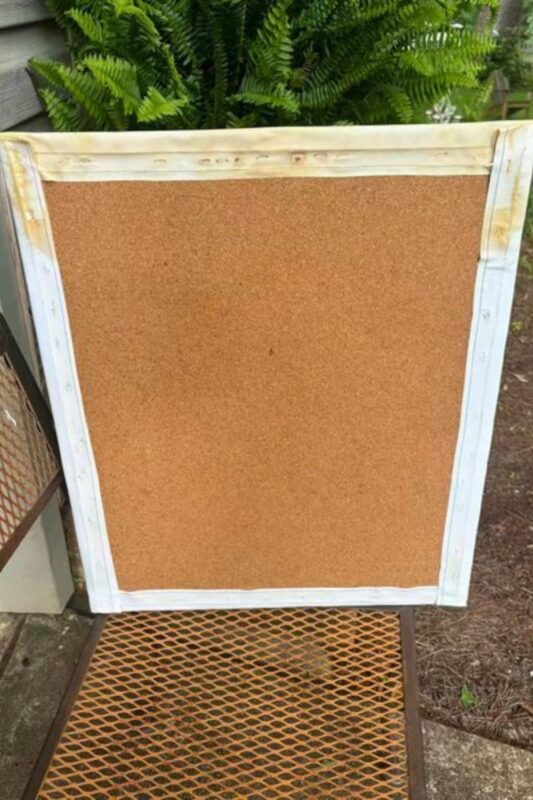
Gorilla Glue adhesive spray is a great product that I have used on many projects. In case I wanted to use the corkboard later, I flipped it over and sprayed the cardboard side in small sections, smoothing out the bumps and wrinkles on the canvas as I went. The adhesive spray is fast-drying, so it’s perfect for impatient DIYers like me.
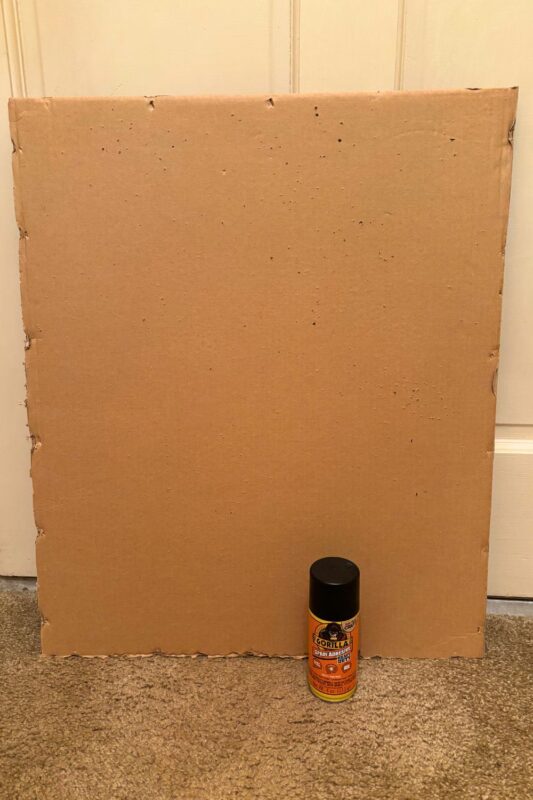
Warning: Be sure to spray the adhesive outdoors because whatever you spray or overspray will be sticky forever. I speak from experience!
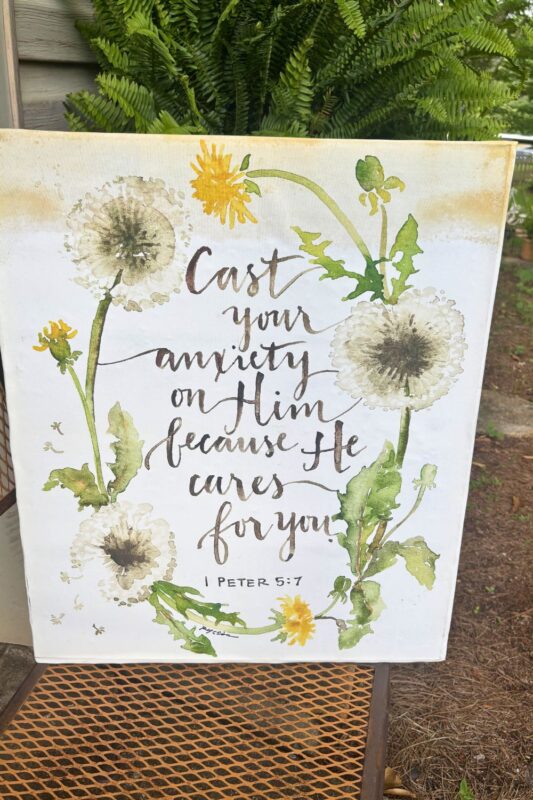
Here’s the canvas on the cardboard:
Step 5: Insert the canvas into the frame
This is the fun part! I love it when a project comes together exactly the way I’d imagined. I used the existing nails on the back of the frame to hold the canvas in place, though they were unnecessary since it fit snugly.
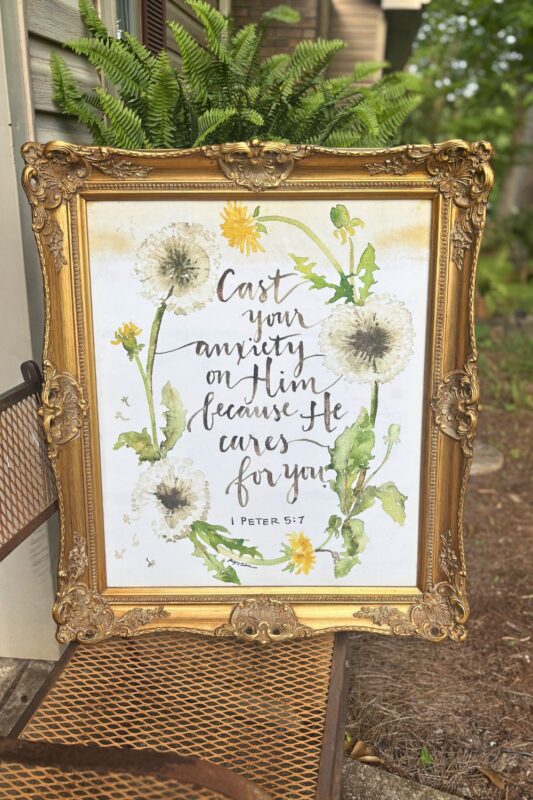
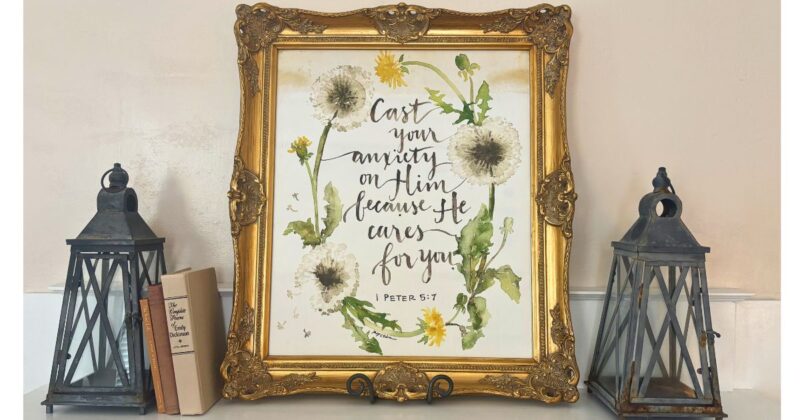
The Beautiful After
I think it turned out beautifully! The frame really highlights the art and draws your attention to the biblical words of encouragement. The $3 thrift-store artwork is perfect for our counseling office.
Does this inspire you to give a tired piece of art from the thrift store or a yard sale a new life? I hope so!!