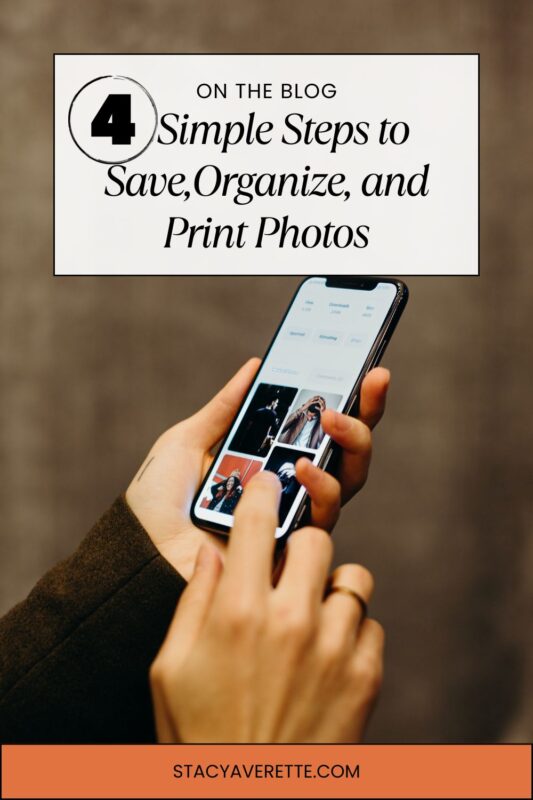
4 Simple Steps to Save, Organize, and Print Photos
Last Updated on December 23, 2025 by Stacy Averette
Here’s a tried-and-true method to save, organize, and print your lovely photos in four simple steps using your phone. This method is one I’ve used once a month for several years, and it has saved me from lots of frustration. My photos are safe and organized on my phone; I even have prints to display in my home and office.

Three Important Reasons to Save, Organize, and Print Phone Photos
1. So you can find a photo when you need it without endless scrolling
As a homemaker, wife, and mother, I love being the primary memory-maker and record-keeper. I do my best to keep up with meaningful family traditions and always look for ways to make our time together memorable.
We celebrate birthdays, vacations, and simple, ordinary days together. Like most families, everyone has a phone and snaps photos of their unique perspective at every event, and we often share those photos via text or email. The problem with all those lovely photos is that they may briefly appear on a social media post and then get lost in a digital haystack with thousands of other images on our phones. We’ve all spent time scrolling and scrolling just trying to find a photo we want to share, am I right?
2. A printed photo is a treasure now and for future generations.
No matter how advanced technology gets, I don’t know anyone who doesn’t love looking at old printed photographs. There’s just something about rummaging through a box of old family photos that stirs our emotions and brings back long-forgotten memories. Recently, my husband and I went through some boxes of old family photos and tried to organize them better. We spent hours looking at old, faded pictures and sharing stories. Even though we’ve been together for 38 years and grew up two miles apart, those photos brought back sweet memories for each of us about our childhoods.
I’m afraid the digital age is robbing us of the treasure of printed photos.
Years ago, before digital cameras, our only option was to take a roll of film and have the photos printed. Does anyone remember those days? Like most people, after buying my first digital camera, I thought printing photos was a thing of the past. (Except for the few years I attempted to scrapbook!)
I love the convenience of having my “camera” in my pocket at all times to take a photo, but I want actual images to display now and keep for future generations. Call me old-fashioned, but I dream of a future where my children and grandchildren are together, looking through boxes of printed photos and sharing their stories and favorite memories.
3. Saving photos frees up space on your phone
At one point, I had over 12,000 photos on my phone. I was constantly worried about losing them! I’ve known a few people who’ve lost photos when they lost their phone or it stopped working, and I didn’t want that to be me. A few years ago, I stumbled across the information I will share with you, and I’ve been using it ever since.
Saving, organizing, and printing my photos is one of my beloved routines. It takes just a few minutes (literally) each month, and I’m done!

The 4 Simple Steps to Save, Organize, and Print Your Photos
Many photo storage and printing options exist, but this method works for me because it’s inexpensive, easy, and requires very little time. I think you’ll agree when you see the steps below.
I’m going to explain each step in more detail for saving, organizing, and printing photos from your phone and tell you what I wish I’d known years ago—it would have saved me lots of time and headaches. But here’s the basic list of the steps so you can get the big picture.
- Download the Amazon Photos App on your phone
- Create an album(s) in Amazon Photos for the month and/or event
- Order prints via the Amazon Photos App
- Display or store your printed photos
Easy enough, right? In just four simple steps, you can save, organize, and print your favorite photos and have them delivered right to your door in just a few days!
I’m a participant in the Amazon Services LLC Associates Program; some links may be affiliate links. I may receive a small fee at no extra cost to you if you buy something or take action after clicking one of these.
Step 1
Download the Amazon Photos App on your phone. Although there are many photo storage and printing options, Amazon Photos is my top choice.
Did you know Amazon Prime members get unlimited free photo storage plus 5 GB of video storage? I didn’t know this for quite a while, but it’s been a game-changer. The photo storage method I used stopped being free, and since I already had Amazon Prime, it was a no-brainer to take advantage of the option to store my photos.
The best thing about having the app is that your photos automatically download when you open the app and are connected to wifi. How easy is that? I try to open the app once a week and give the photos time to download since I take many pictures.
If you don’t have Amazon Prime, you can click here to sign up for a 30-day free trial and read about all the benefits. Depending on your needs, there are several pricing options.
Okay! Now that you have the Amazon Photos App and assuming all your photos are downloaded into the app, you’re done with “the saving” part, and you can move on to “the organizing” part
Step 2
Create an album(s) in Amazon Photos for the month and/or event
One of my “things to do monthly” is managing the app’s photos. Sometime during the first week of each month, I open the app and double-check that all my pictures from the previous month are there. One of my first tasks is to delete photos I don’t care about saving (like various screenshots) in the app. These are automatically downloaded, but I want my app to be clutter-free. Now, I’m ready to create an album.
To create an album:
- Click “Albums” at the bottom of your screen
- Click “+” to add a new album
- Select the photos you want in the album
- Click “Next”
- Give your album a title
- Click “Create”
I create more than just a monthly album. For example:
- A “Thrifty Style” album that I add to each month
- A “Christmas 2023” album
- Albums for each of my kids
You can add photos to these albums anytime. I love having monthly albums as well as event/people-specific albums.
These albums in my Amazon Photos App make it super easy to find a photo when needed. I open my app, click “albums,” and find the right one—there’s no need to scroll through the thousands of pictures in my iPhone photo app.
(If you prefer, you can create albums and order prints from your laptop. Just search Amazon.com/photos and sign in to your Amazon account. The steps are a little different but also easy.)
Step 3
Order prints via the Amazon Photos App
This is my favorite part!
- Click the black Amazon icon in the top left corner
- Click “Print photos with Amazon.”
- Choose what you want to order (There are many options–photo books, wall decor, calendars).
- To order “Photo prints,” scroll down the list and click “photo prints”.
- Choose with options you prefer (4×6, glossy, or matte)
- Click “Get Started”
- Select the photos you want to print
- Click “Checkout”
- Click “Place your order
You’re done! Yay, you!
You’ve saved, organized, and ordered photo prints. Now, you only have to wait a few days for your lovely prints to be delivered right to your door.
Step 4
Display or store your printed photos

When my photos arrive, I can’t wait to open the package and look through them.

There’s something about holding a print in my hand that I love. My husband also loves to look through them because he usually hasn’t seen them before unless I’ve shared them. I toss the cardboard envelope and leave it in the white photo envelope.

This envelope goes in the photo box. Photo boxes are an excellent option for storing photos. I get mine from Hobby Lobby when they’re on sale.

I found a similar style that I like on Amazon.

I also really like this Transparent 4″ x 6″ Photo Cases and Clear Craft Keeper with Handle – 16 Inner Cases Plastic Storage Container Box (Clear). This is an excellent option if you prefer not to leave the photos in the envelopes.

Whichever option you choose, you’ll be one step closer to having your cherished photos safe and organized with printed photos to enjoy for years to come.
Optional step: Go to photos on your phone and delete the images you’ve saved and organized.
I confess I’m not very good at this step. I don’t delete photos on my phone until they occupy too much space.
But now that your photos are safely stored, organized, and printed, you can delete them on your phone to free up space.
I hope these 4 Simple Steps to Save, Organize, and Print Your Photos have been helpful to you. Do you have any questions? Leave a comment and let me know. You might also want to pin the photo below for future reference.
Thanks for stopping by!


I just noticed that Amazon has the photo storage but haven’t started using it yet. I love the organized steps you listed and will be getting started soon! I’ll be printing quite a few!
Claire, thank for reading the post. I’m glad the steps were helpful!